Computer Vision - Experiment 10 - Create a rectangular boundary that encloses the outline
Experimental objectives and requirements
Understand the basic principle of creating a rectangular boundary that encloses an outline; master the method of writing code to create a rectangular boundary that encloses an outline using OpenCV.
Experiment content
(i) Create a new project.
(ii) Configuring OpenCV in VS2015.
(iii) Randomly generate point coordinates using the RNG class in OpenCV;
(iv) Finding the enclosing rectangle of minimum area for a given set of 2D points;
(v) Draw the enclosing rectangle with the minimum area.
Experimental apparatus, equipment
A computer with Windows 7 operating system and Visual Studio 2015 installed
Experimental principle
(i) In practical applications, there is often a need to represent the detected contour as a polygon. This experiment implements how to represent the outline with a rectangle, or how to extract the rectangle based on the outline.
(ii) In OpenCV, using the RNG class, you can randomly generate point coordinates and then use the minAreaRect function to find the enclosing rectangle with the smallest area. The rectangle obtained by the minAreaRect function can have a deflection angle and can be parallel to the the boundaries of the image are not parallel.
Experimental steps
(i) Create a Visual Studio 2015 console program;
(ii) Configure OpenCV in Visual Studio 2015;
(iii) Write code to randomly generate point coordinates using the RNG class in OpenCV;
(iv) Write code to find the minimum area enclosing rectangle for the 2D point set generated in the previous step, using the minAreaRect function in OpenCV;
(v) Write code to draw the enclosing rectangle with the smallest area detected by the minAreaRect function, using the line function in OpenCV.
Experimental notes
(i) Configure OpenCV in VS after completing the installation of OpenCV;
(ii) The functions and usage of the RNG class;
(iii) The functions and usage of the minAreaRect function;
(iv) The functions and usage of the line function.
Experimental results
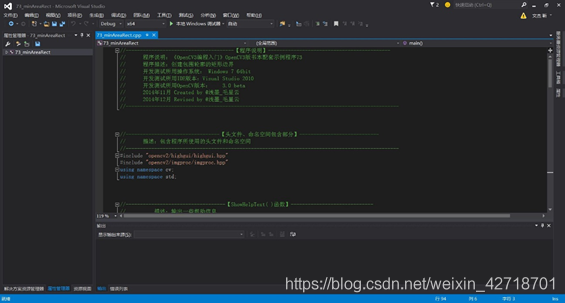
(i) Experimental code
|
|
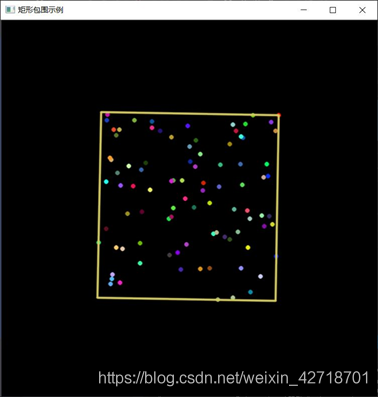
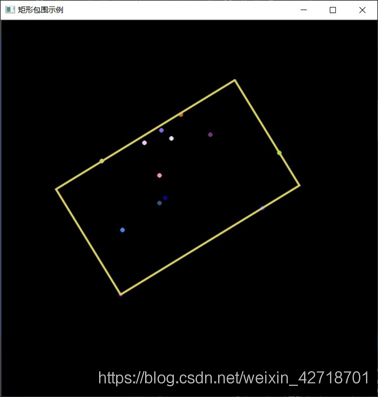
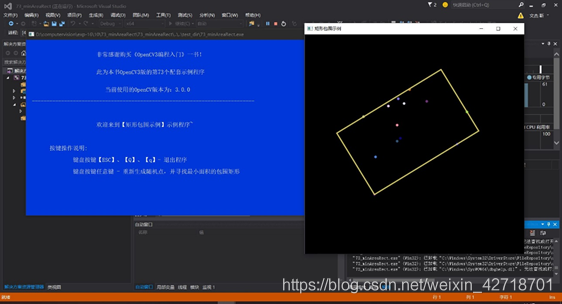
(ii) Show the results


Experiment Summary
The main content of this experiment is to understand the basic principle of creating a rectangular boundary that encloses an outline; to master the code writing method of creating a rectangular boundary that encloses an outline using OpenCV. Create a new project, configure OpenCV in VS2015, use the RNG class in OpenCV to randomly generate point coordinates; find the enclosing rectangle with the minimum area for a given set of 2D points; draw the enclosing rectangle with the minimum area. Learned to randomly generate point coordinates using the RNG class in OpenCV; learned how to find the enclosing rectangle with the smallest area for a given set of 2D points; learned how to draw the enclosing rectangle with the smallest area.