Computer Vision - Experiment 8 - Image segmentation experiment
Experimental objectives and requirements
Understand the basic principle of image segmentation using meanShfit; master the code writing method of color image segmentation by mean drift algorithm using OpenCV.
Experiment content
(i) Create a new project.
(ii) Configuring OpenCV in VS2015.
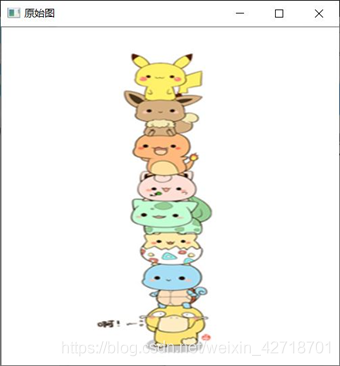
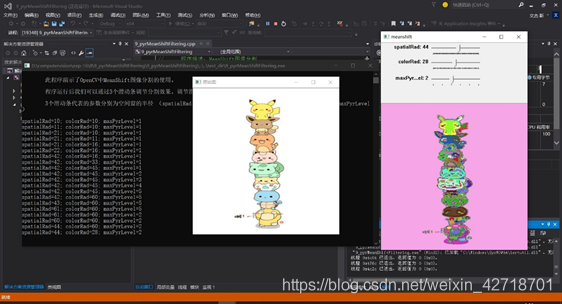
(iii) Implementing color image segmentation using pyrMeanShiftFiltering function in OpenCV;
(iv) Use the floodFill function in OpenCV to fill the result of its segmentation with different colors.
Experimental apparatus, equipment
A computer with Windows 7 operating system and Visual Studio 2015 installed
Experimental principle
(i) meanShfit (mean drift) algorithm is a general clustering algorithm, its basic principle is: for a given number of samples, any one of the samples, the sample as the center point to delineate a circular region, find the center of mass of the samples in the circular region, that is, the point at the maximum density, and then continue to perform the above iterative process with that point as the center until the final convergence.
(ii) meanShfit can be used not only for image filtering, video tracking, but also for image segmentation. The corresponding function in Opencv is pyrMeanShiftFiltering. pyrMeanShiftFiltering is an image smoothing filter at the color level, which can neutralize colors with similar color distribution, smooth out color details, and erode smaller color areas, thus achieve the segmentation effect.
(iii) The main process of this experiment is to first set up the parameters and then use the function pyrMeanShiftFiltering function to segment the input image. The result of the segmentation is saved in the second parameter of the function that is the output image, and finally the result of its segmentation is filled with different colors according to the characteristics of this segmented image using the floodFill function.
Experimental steps
(i) Create the Visual Studio 2015 console program;
(ii) Configure OpenCV in Visual Studio 2015;
(iii) Write code to implement color image segmentation using pyrMeanShiftFiltering function;
(iv) Write code to fill the result of its segmentation with different colors using the floodFill function.
Experimental notes
(i) Configure OpenCV in VS after completing the installation of OpenCV;
(ii) The functions and usage of pyrMeanShiftFiltering function;
(iii) The functions and usage of the floodFill function.
Experimental results
(i) Experimental code
|
|
(ii) Show results


Experiment Summary
The main content of this experiment is to understand the basic principle of image segmentation using meanShfit; to master the code writing method of color image segmentation by meanShift algorithm using OpenCV. Create a new project, configure OpenCV in VS2015, use pyrMeanShiftFiltering function in OpenCV to achieve color image segmentation; use the floodFill function in OpenCV to fill the result of its segmentation with different colors. Learn to implement color image segmentation using pyrMeanShiftFiltering function; floodFill function to fill the result of its segmentation with different colors.