Install DM8 on Windows
Download the installation image
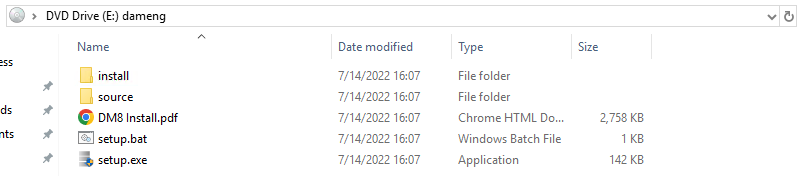
- Visit the official website to download and install the mirror
- Unzip the package

Installing the DM8
- Run the installation program

- Start setup.exe in the directory
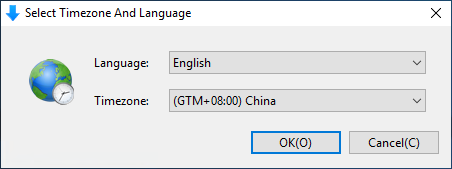
- Language and Time Zone Selection
Select the appropriate language and time zone according to your system configuration and click the OK button to continue the installation.
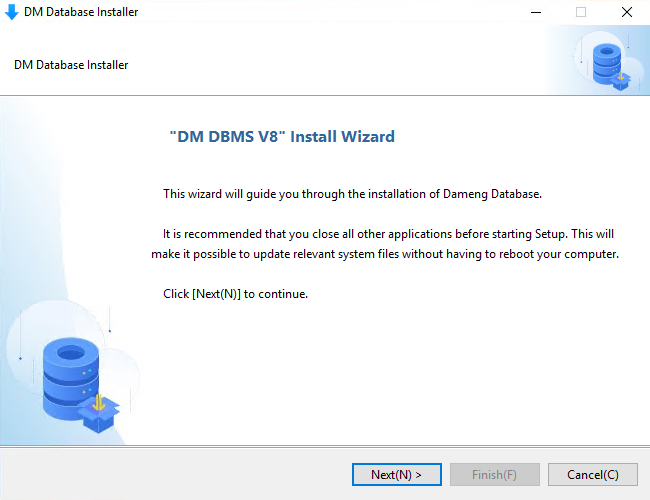
- Welcome Page
Click the Next button to continue the installation.
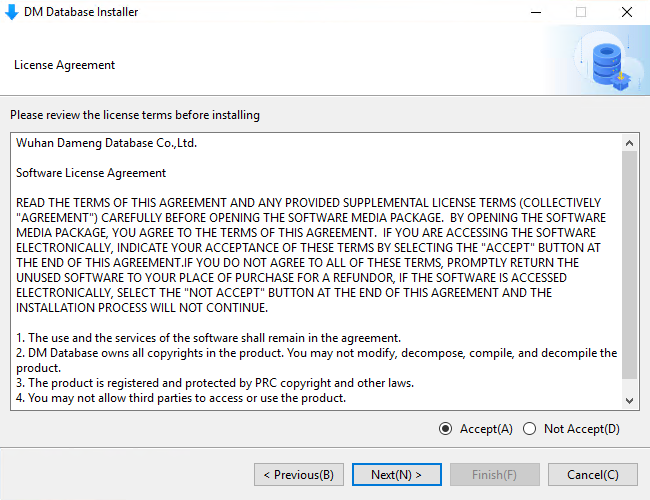
- License Agreement
Select Accept Agreement and click Next to continue the installation.
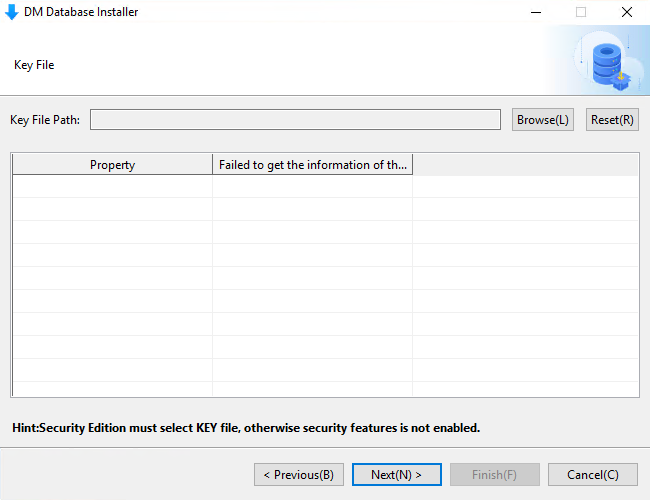
- Verify the Key file
Click Next directly to continue the installation
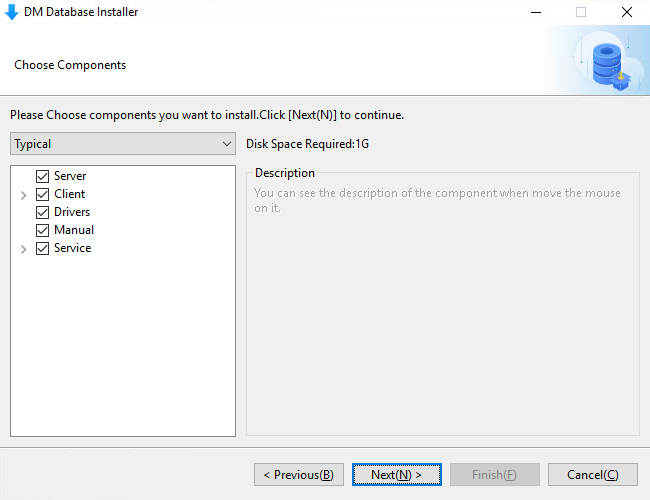
- Selecting Installation Components
The DM installer provides four installation methods: “Typical Installation”, “Server Installation”, “Client Installation” and “Custom Installation”. The DM installer provides four installation methods: “Typical Installation”, “Server Installation”, “Client Installation” and “Customized Installation”. As shown in the figure below:
Typical installation includes: server, client, driver, user manual, database service.
Server installation includes: server, driver, user manual, database service.
Client installation includes: client, driver, user manual.
Customized installation includes: user check the components according to the requirements, it can be any combination of server, client, driver, user manual, database service.
Click Next to continue the installation.
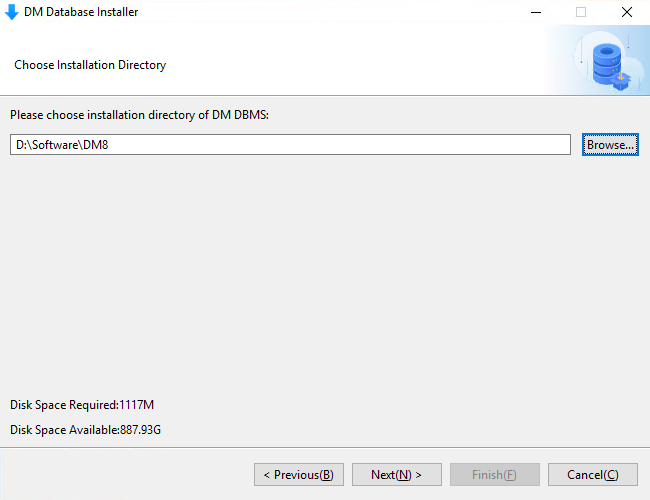
- Select installation directory
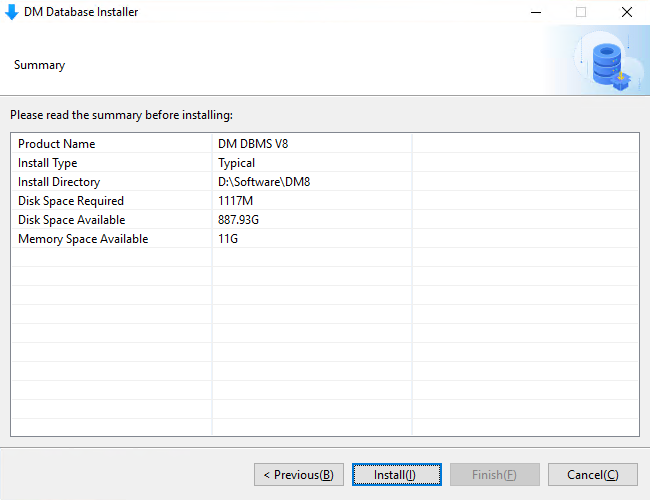
- Pre-installation Summary
Displays information about the upcoming installation, such as product name, version information, installation type, installation directory, free space, free memory, etc. Users check for accuracy and then click the Install button to proceed with the installation of DM.
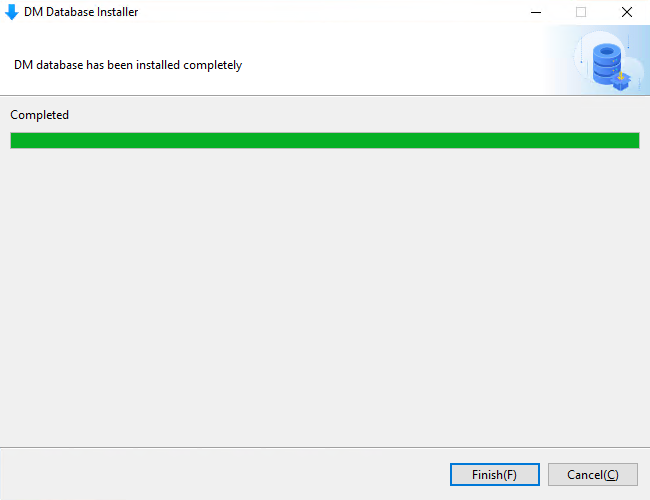
- Installation Process
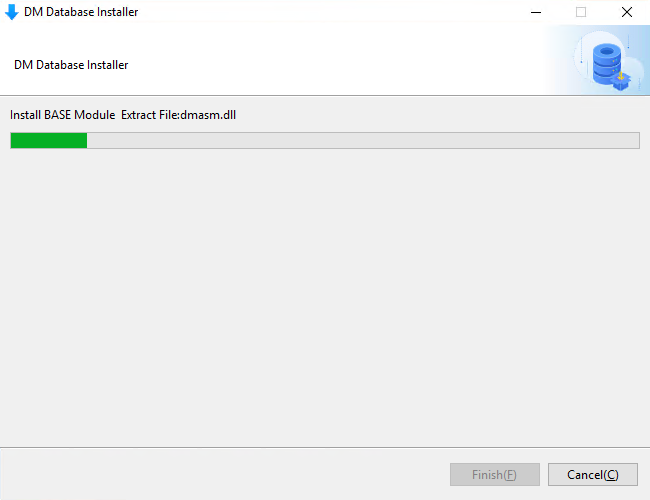
Wait for the installation to complete.
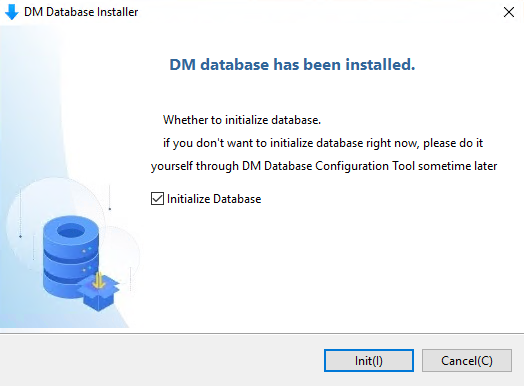
Initializing the database
- Initializing the database
After the installation is complete, you can click Init to initialize the database.
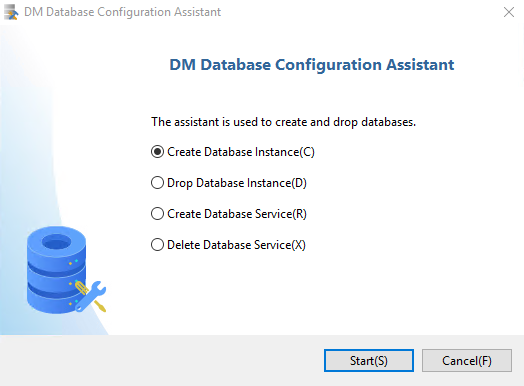
- Selecting the Operation Method
Select Create Database Instance and click Start.
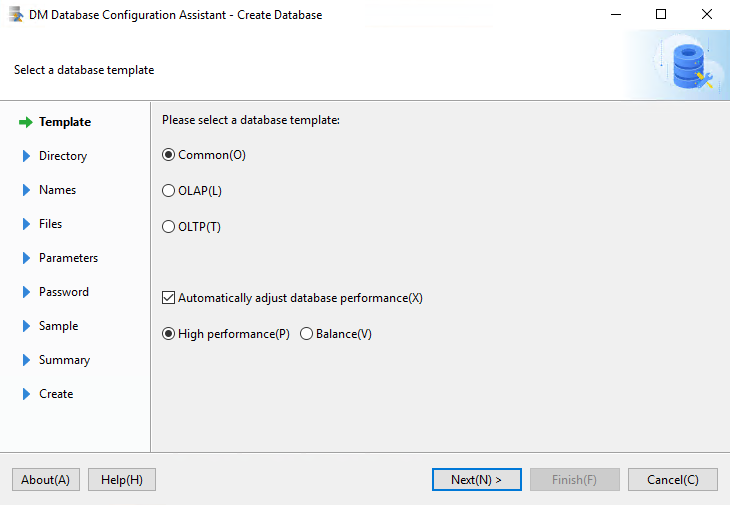
- Creating database templates
The system provides three sets of database templates for users to choose from: General Purpose, On-line Analytical Processing and On-line Transaction Processing.
Select Common and click Next to continue.
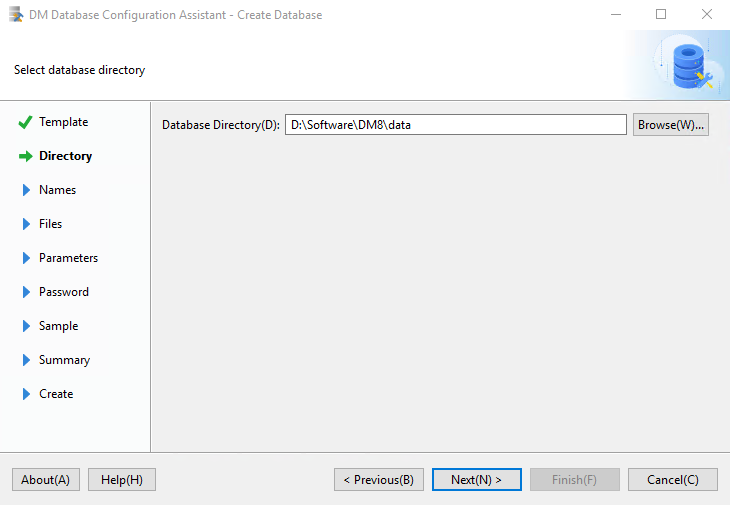
- Selecting the database directory
Set the database directory and click Next to continue.
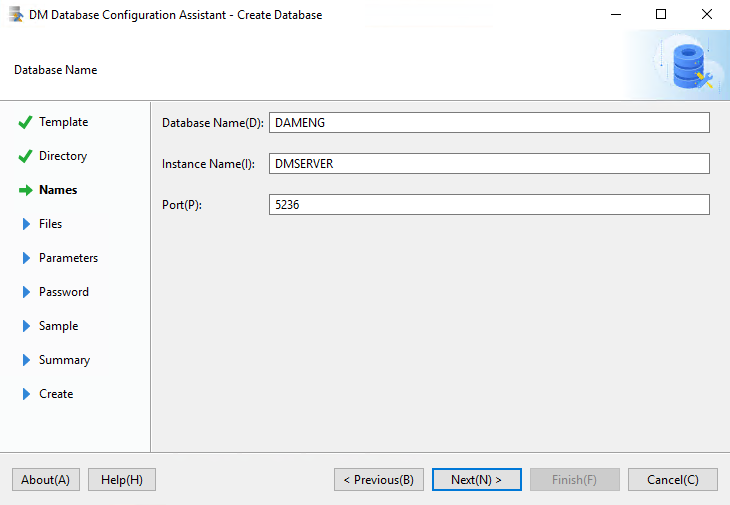
- Input database identification
Users can enter parameters such as database name, instance name, port number, etc.
Click Next to continue.
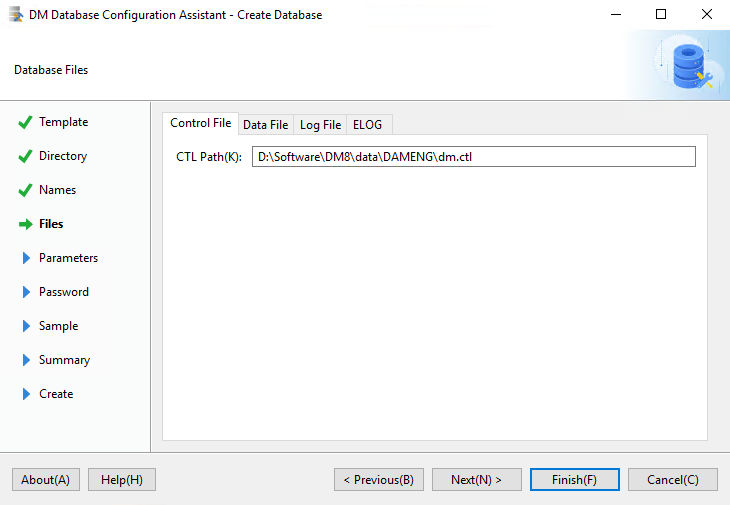
- Database File Location
The user can determine the location of the database control, database log, and other files by selecting or typing them, and can add or delete files using the function buttons on the right.
Click Next to continue.
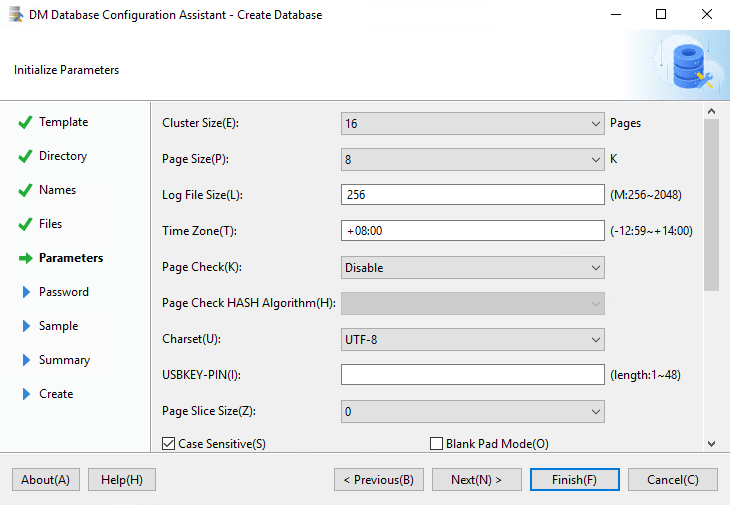
- Database initialization parameters
Users can enter database related parameters, such as cluster size, page size, log file size, select character set, whether it is case sensitive or not.
Click Next to continue.
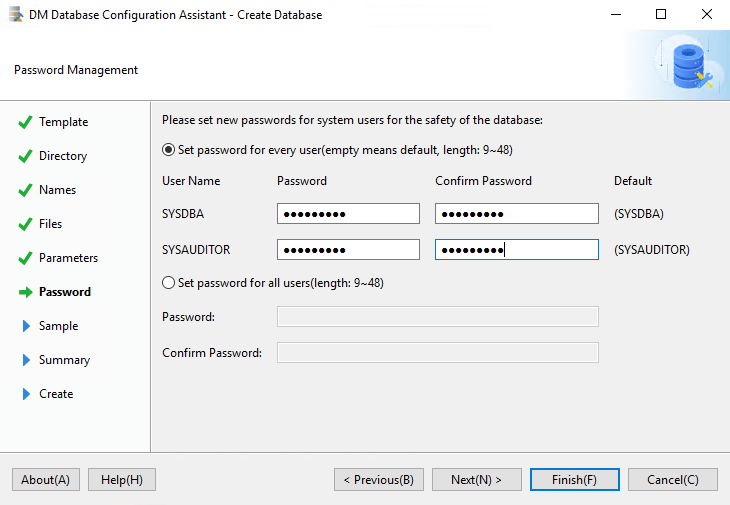
- Password Management
Users can enter the password of SYSDBA, SYSAUDITOR to change the default password, if the installation version is the security version, it will add the password change of SYSSSO user.
Click Next to continue.
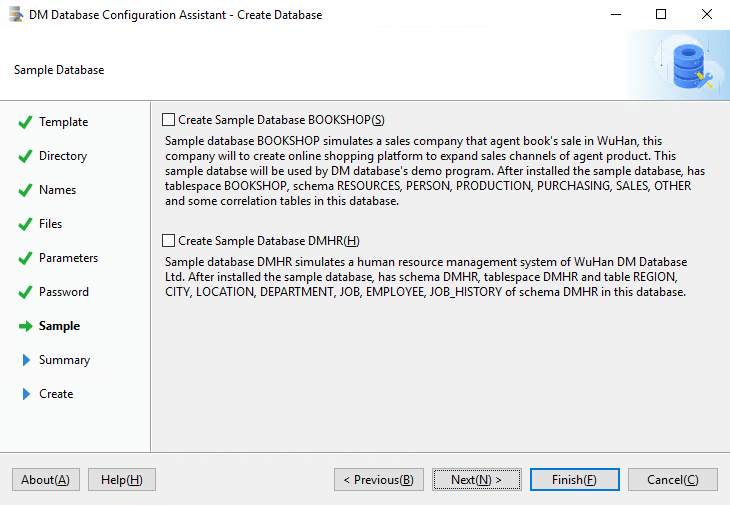
- Choosing to Create a Sample Library
Users can choose whether to create a sample library BOOKSHOP or DMHR.
Click Next to continue.
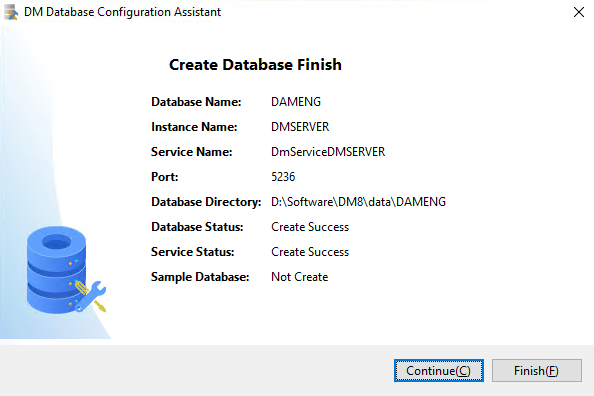
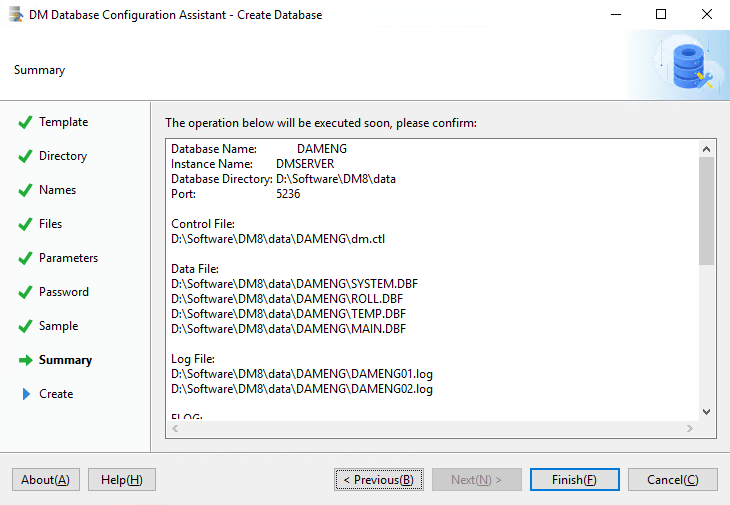
- Creating a Database Summary
Before installing the database, the relevant parameters set by the user through the database configuration tool will be displayed.
Click Finish to continue.
- Install the initialization database
Wait for the installation to complete.

After the installation is complete, a pop-up will appear with database related parameters and file locations.
Click Finish to finish initializing the database.