Install MySQL-5.7.17 on Windows
Download the mysql installation package.
Download the mysql installation package: mysql-5.7.17.msi.
Or go to the official website to download the installation package.
Open the installation package

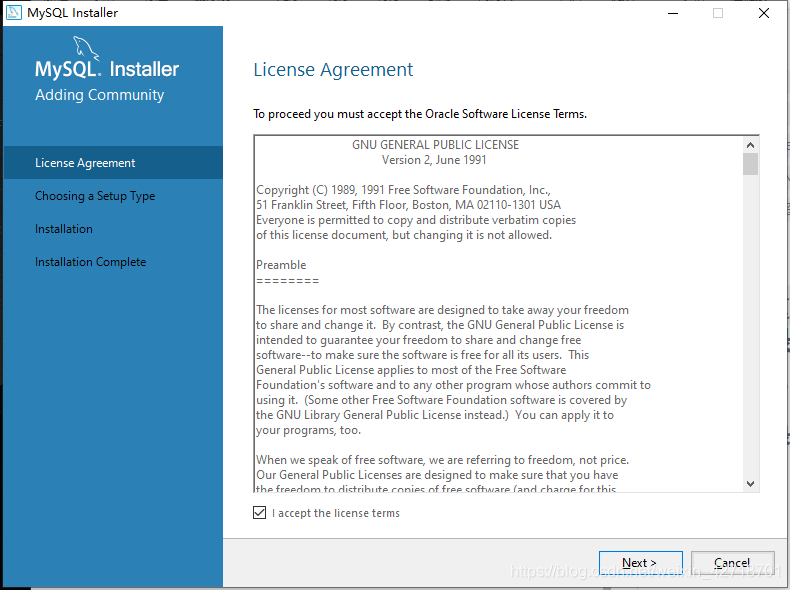
Check the box I accept the license terms and click Next
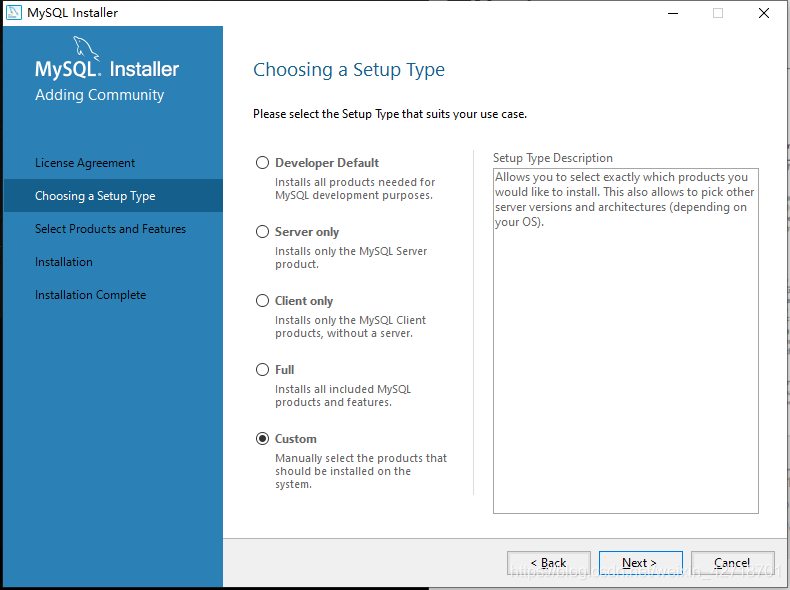
Check the Custom box and click Next
Select the installation version x64 for 64-bit systems and x86 for 32-bit systems
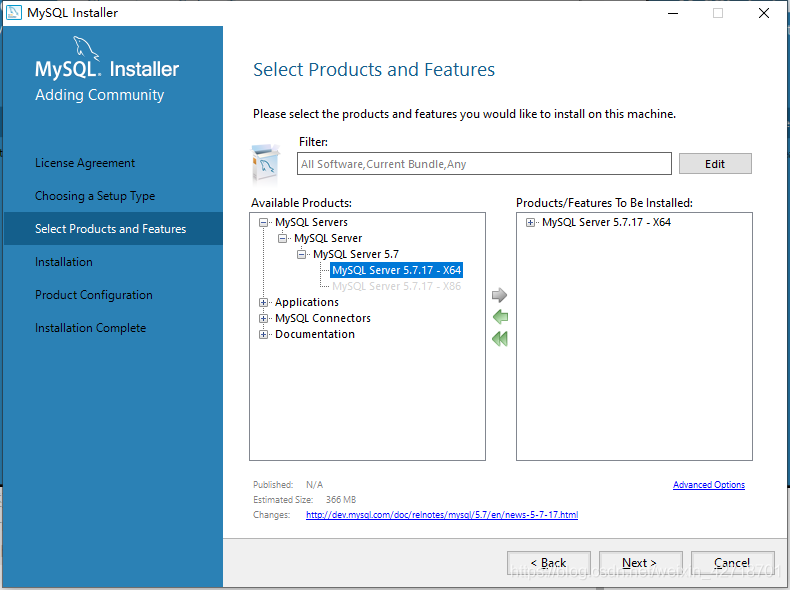
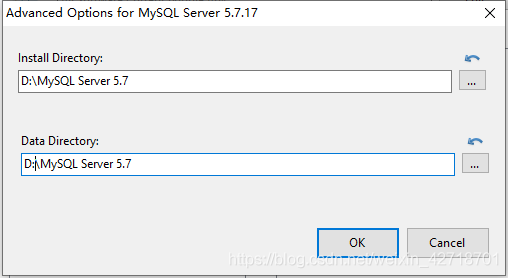
Then click on the right to select the following Advanced Options, to customize the path, I installed in the D disk root directory, and then OK, and then Next
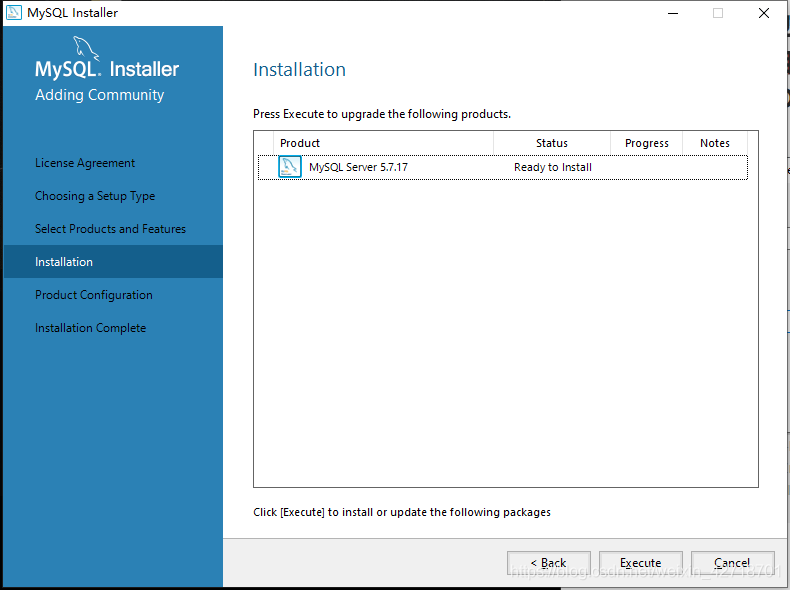
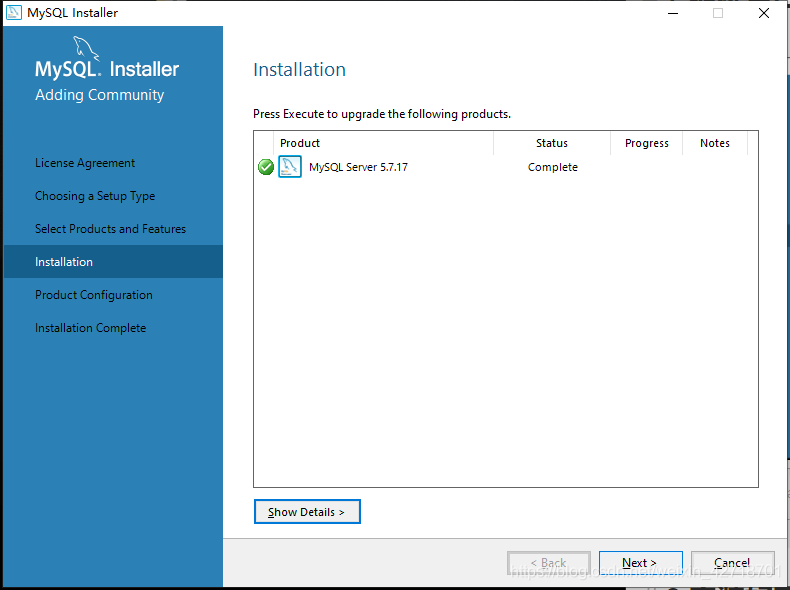
Continue to click Execute and wait for the installation
Click Next after installation, continue to Next
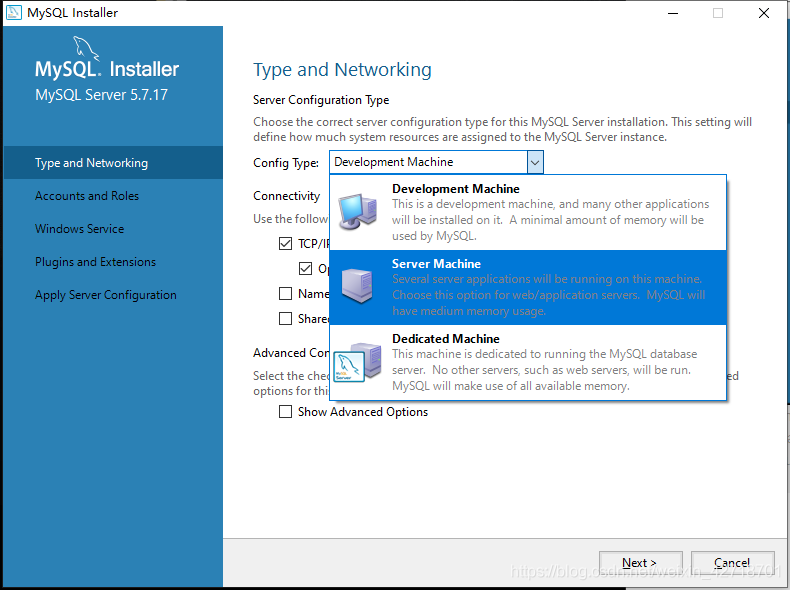
Select Server Dedicated
Set the port number, generally not recommended to modify, the default 3306 can be, and then Next

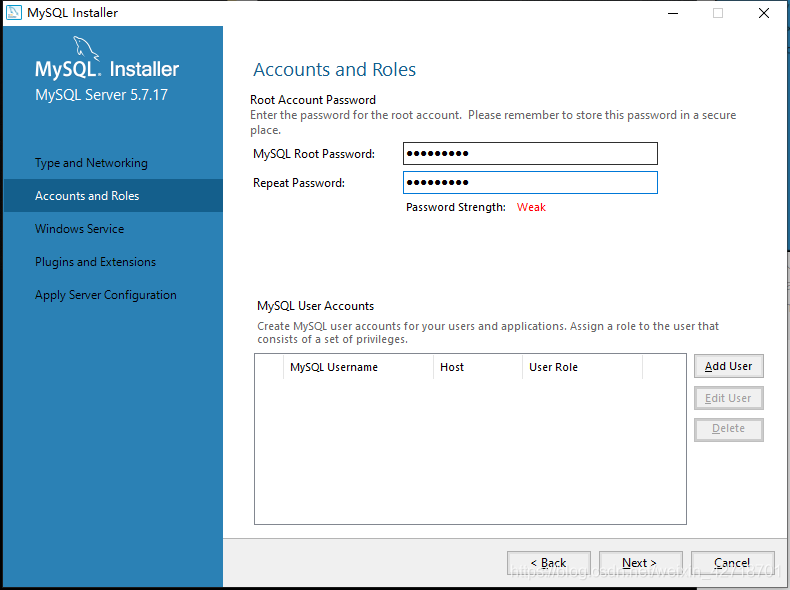
Enter the mysql password, and then Next
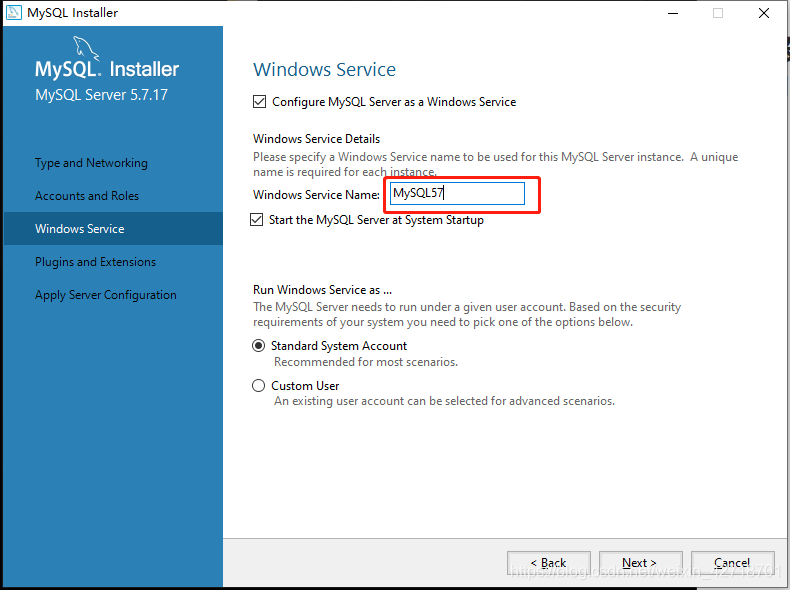
Set the server name, which generally does not need to be changed either, and then Next
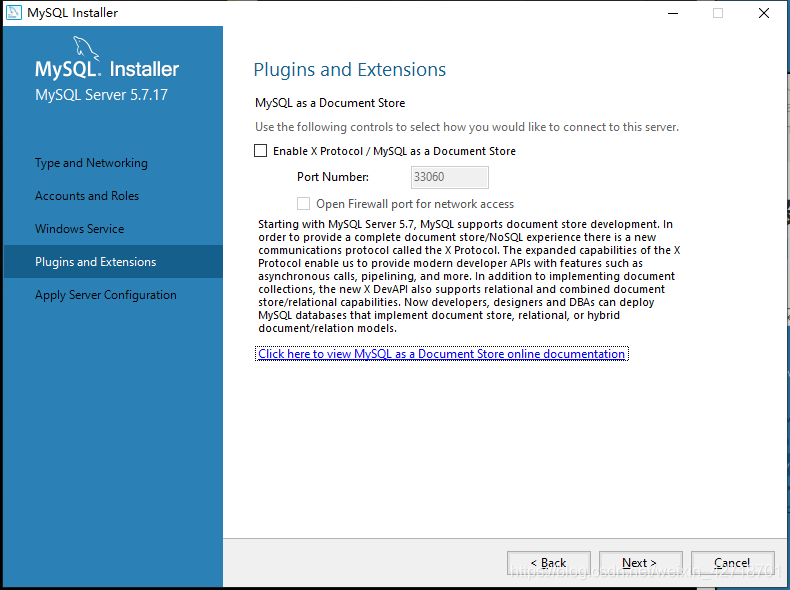
No need to modify directly Next
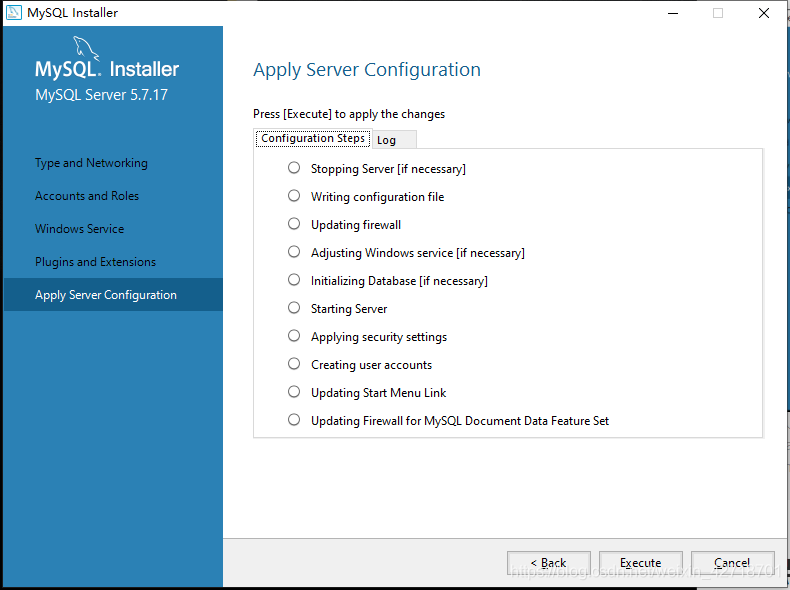
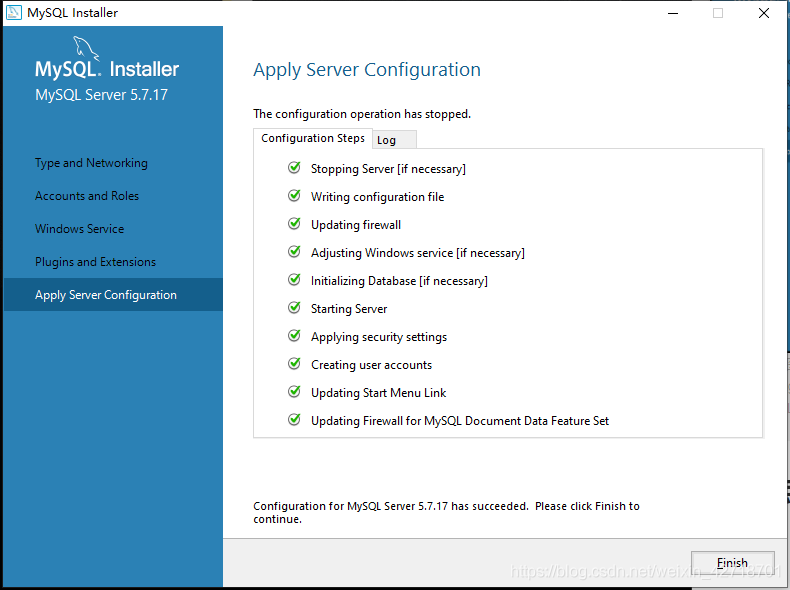
Click Execute to start the installation
Click Finish
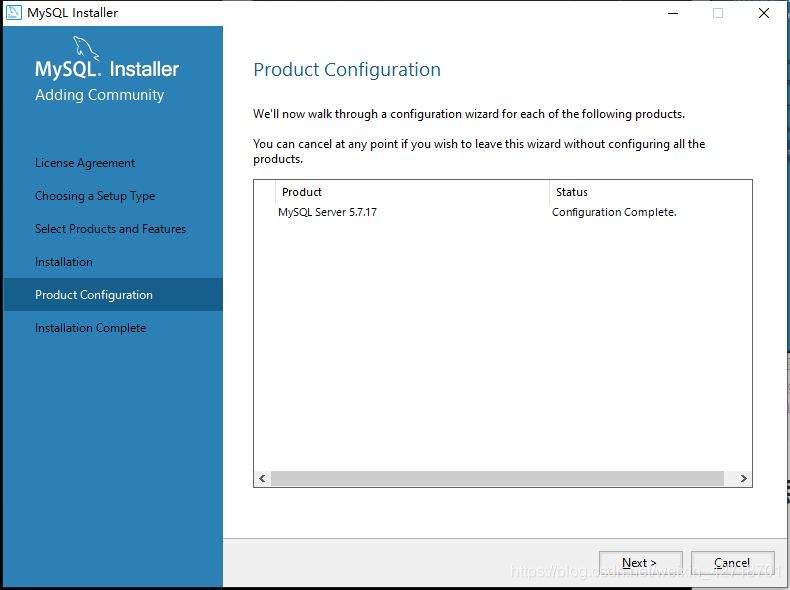
Click Next
Click Finish

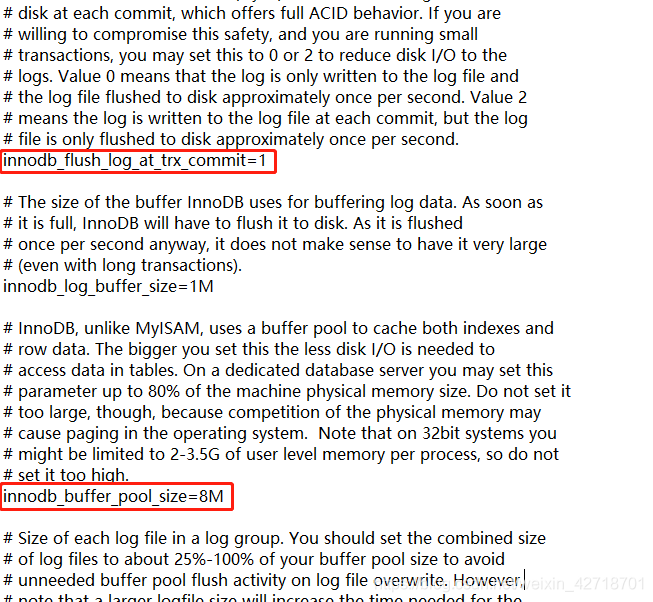
Open the my.ini file in the installation directory

Change these two lines to innodb_flush_log_at_trx_commit=0 and innodb_buffer_pool_size=2G
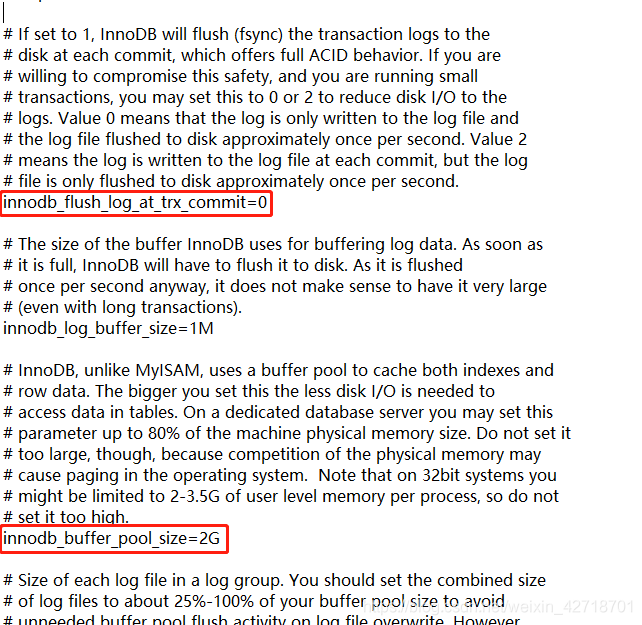
Save the changes and go to the bin folder in the installation directory
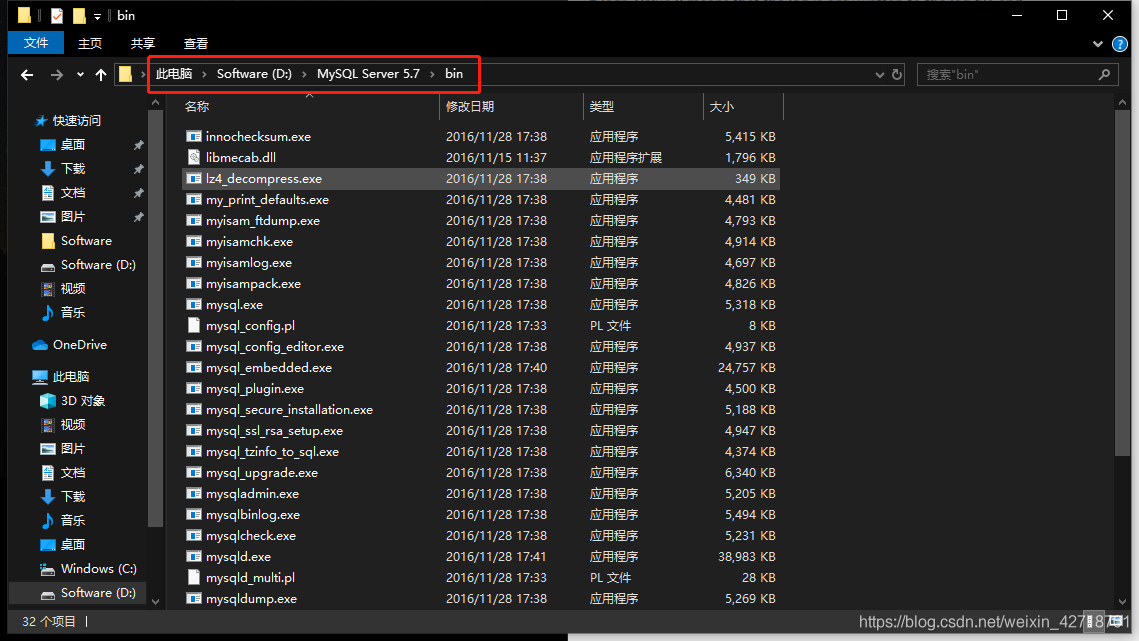
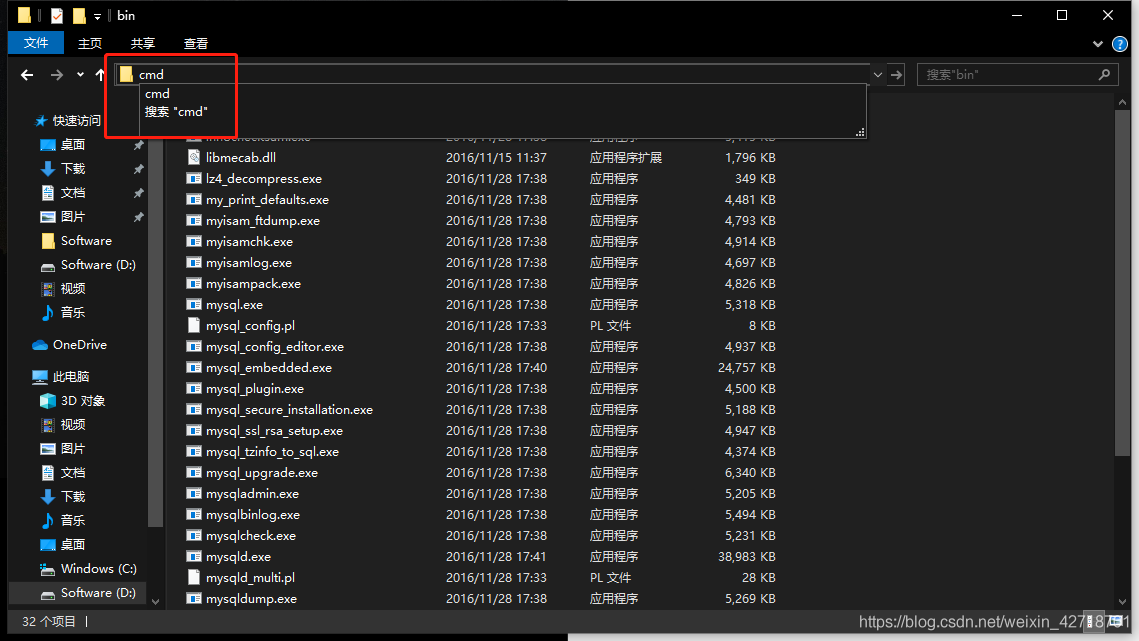
Click on the address bar above and type cmd, then enter to open the command line in that directory
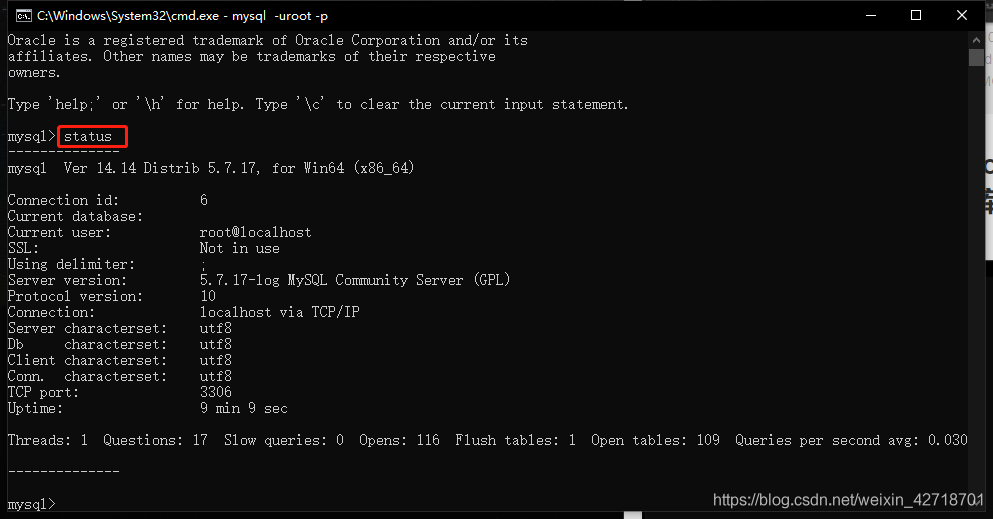
Enter the command: “mysql -uroot -p”, then enter the password to enter the mysql database
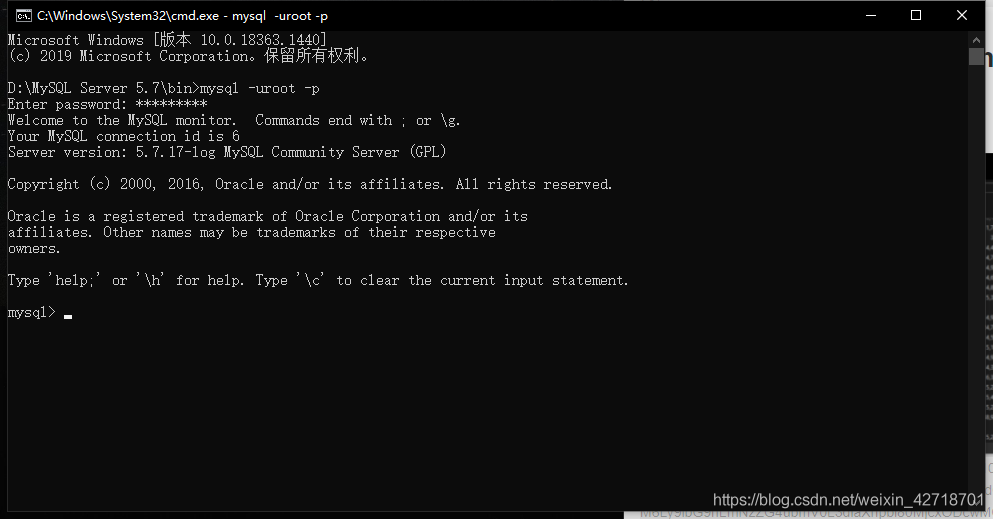
Enter “status” and the following image will be displayed to indicate that the installation is complete