Install SQLServer 2022 (16.00.1000) on Windows
Go to the official website to download the SQLServer2022 installation package
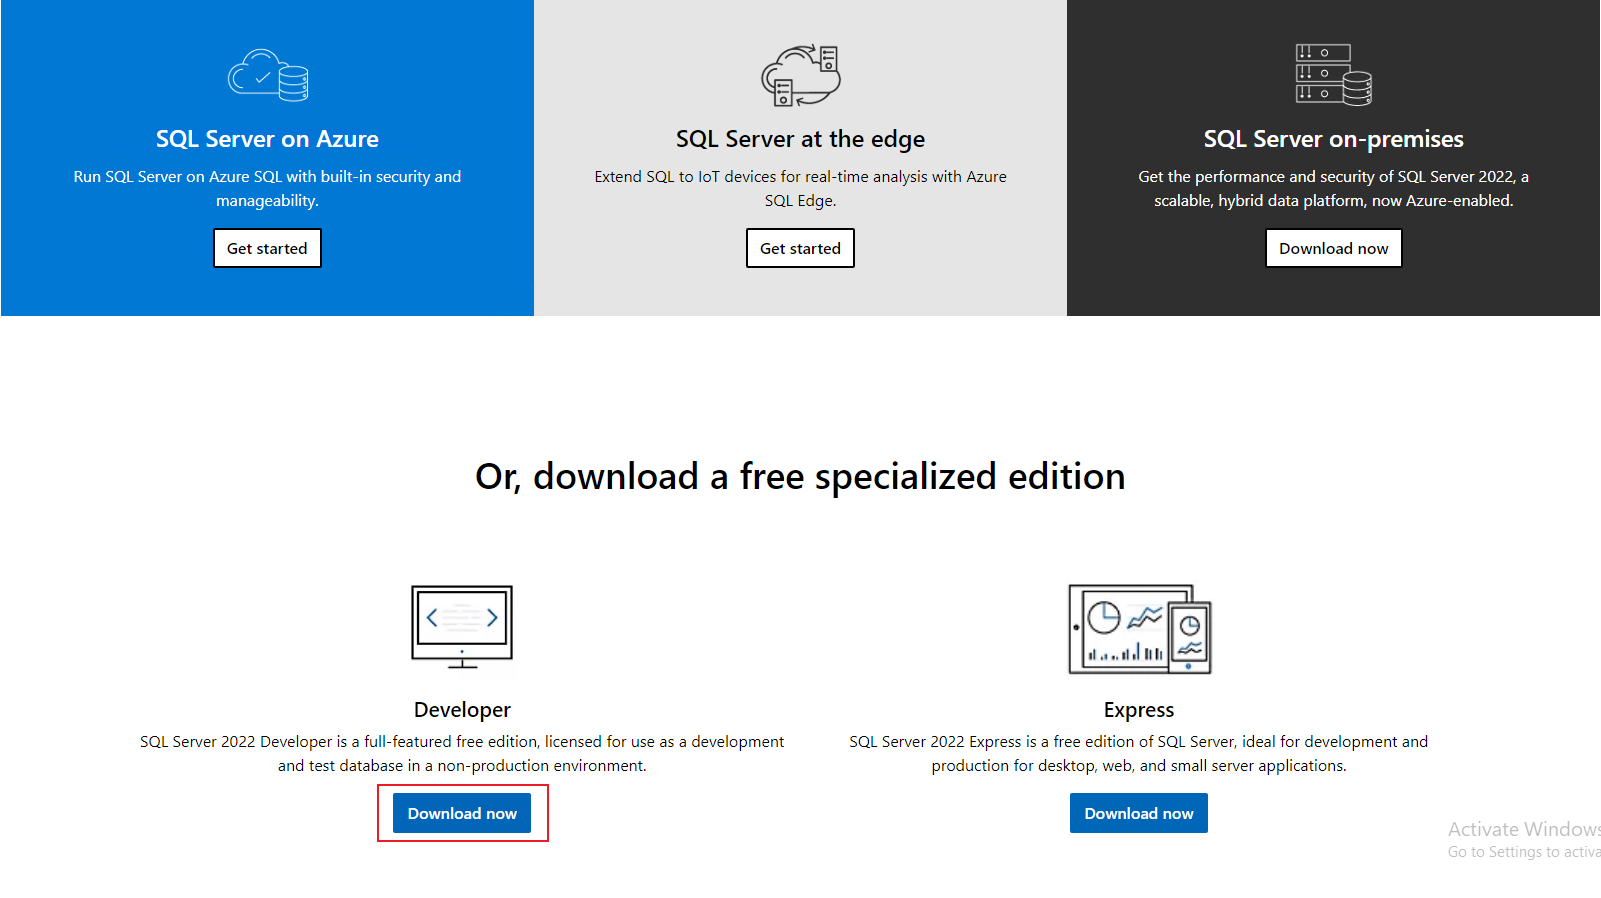
Download the SQLServer 2022 installation package.
https://www.microsoft.com/en-us/sql-server/sql-server-downloads.
Open the installation package

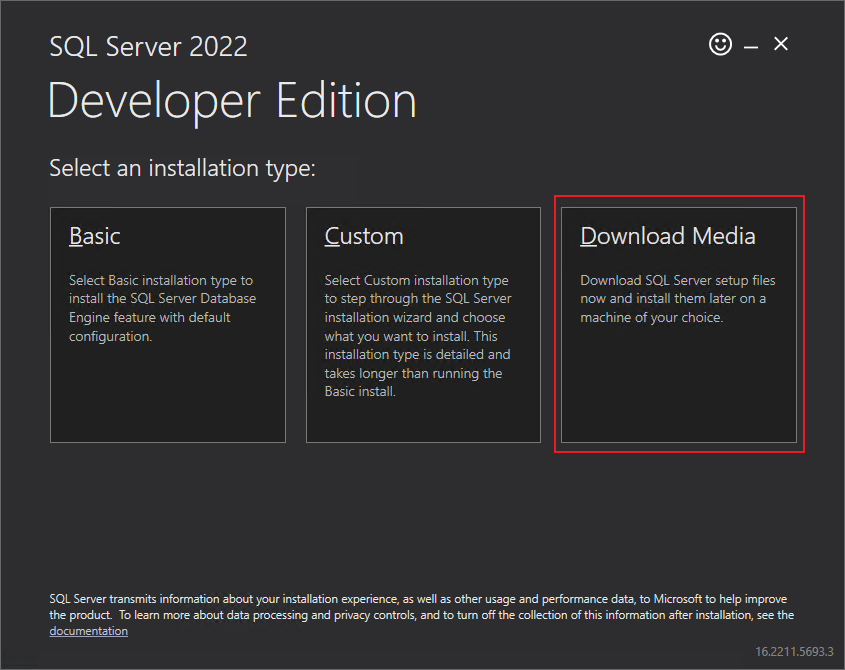
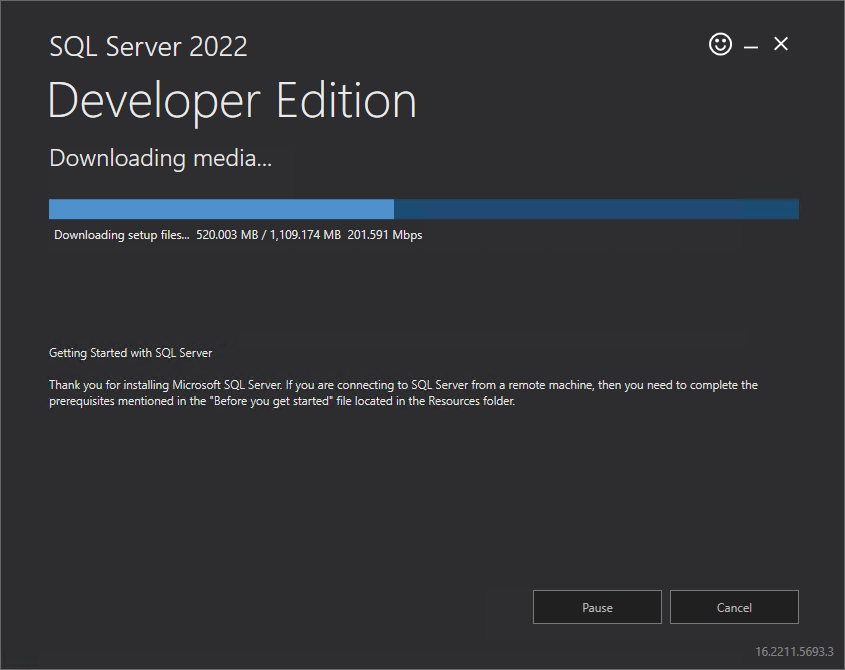
Select Download Media
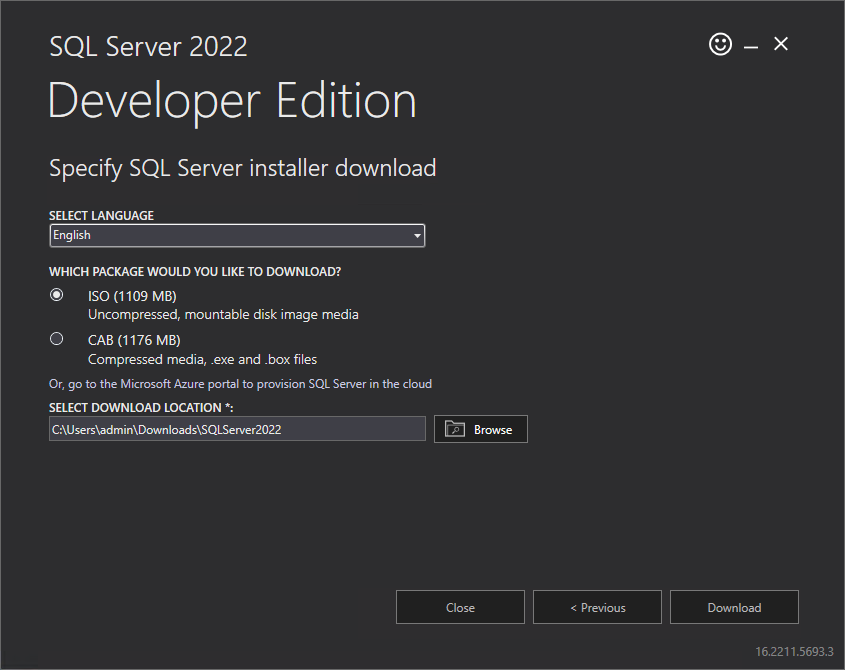
Choose to download the ISO file, Download Location, click Download
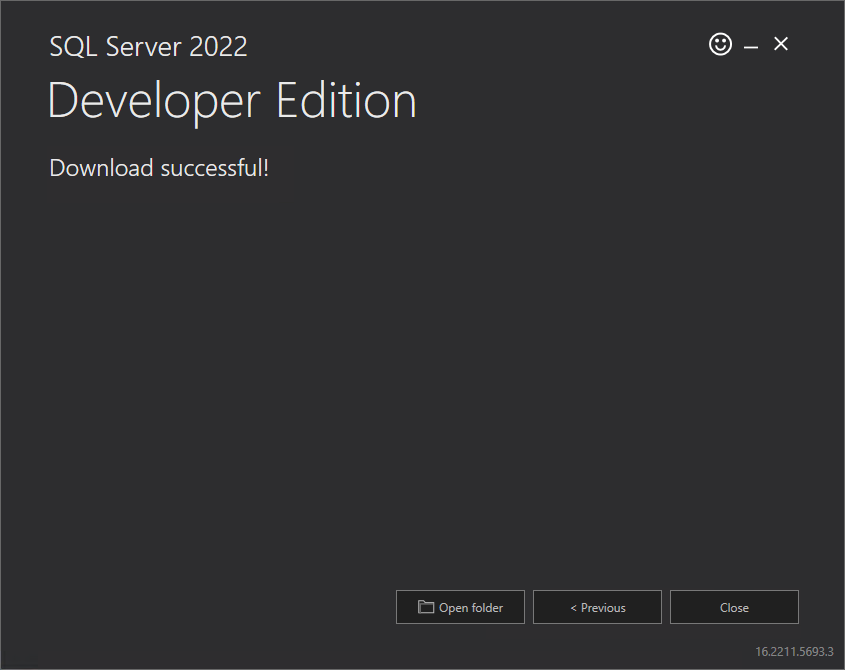
Waiting for the download to complete
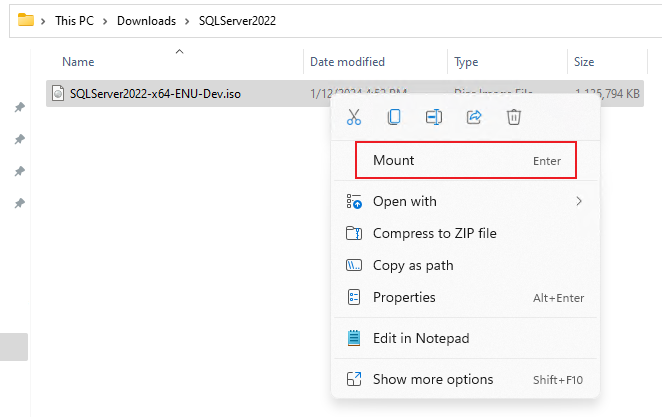
Once the download is complete, right-click download image and select Mount
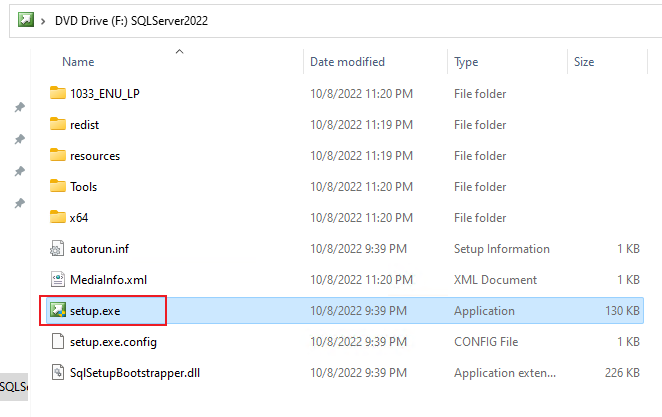
Double-click the setup.exe programme in the pop-up page
Waiting to enter the installation screen
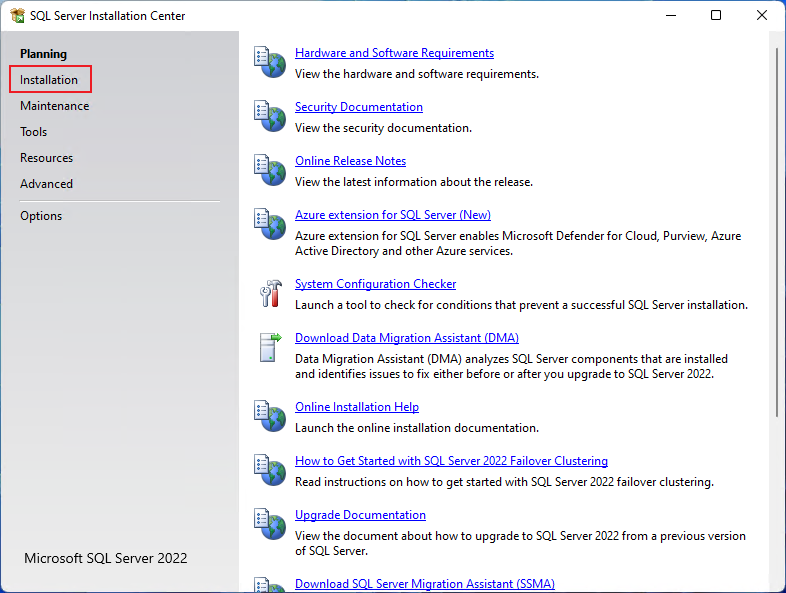
Click to Installation
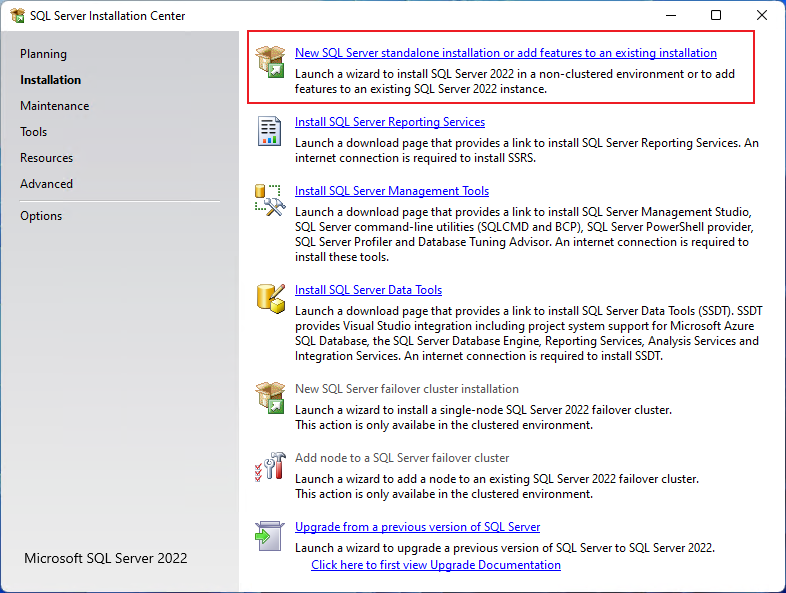
Choose New SQL Server standalone installation or add features to an existing installation
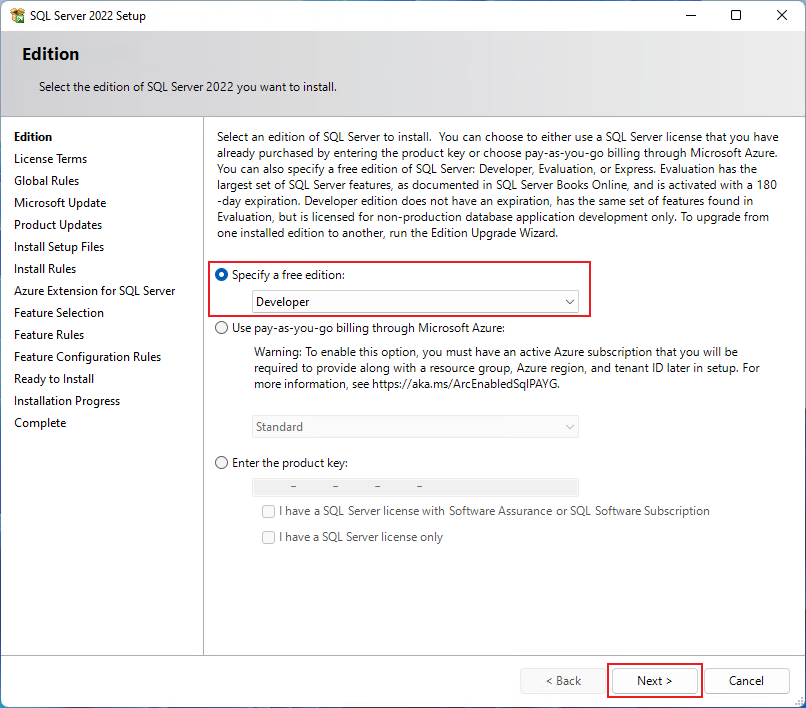
Select the installation version Evaluation, Developer and click Next
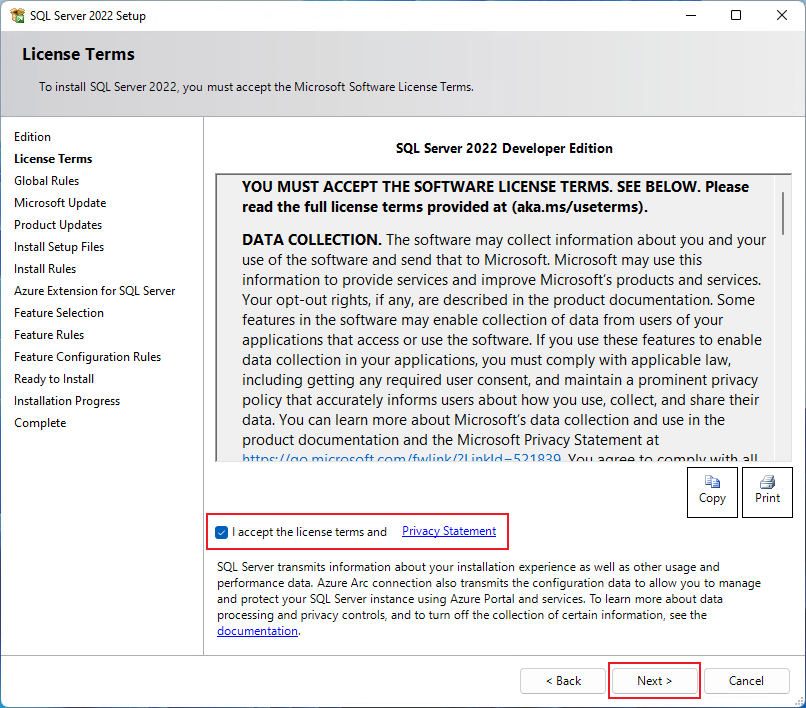
Choose to accept the terms of the licence and click Next
Deselect Check for updates (checking for updates is not recommended, it is time consuming) and click Next

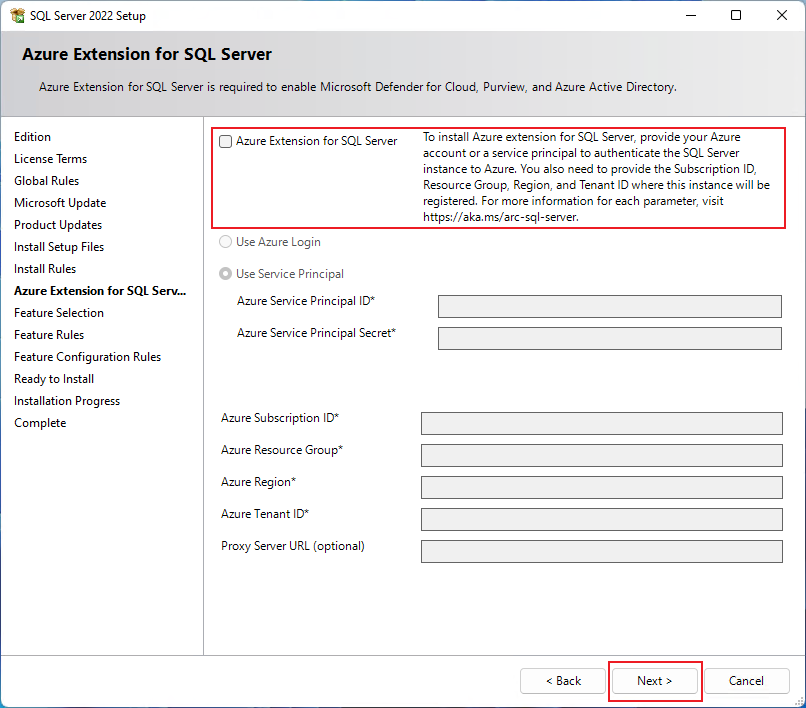
Uncheck Azure Extension and click Next
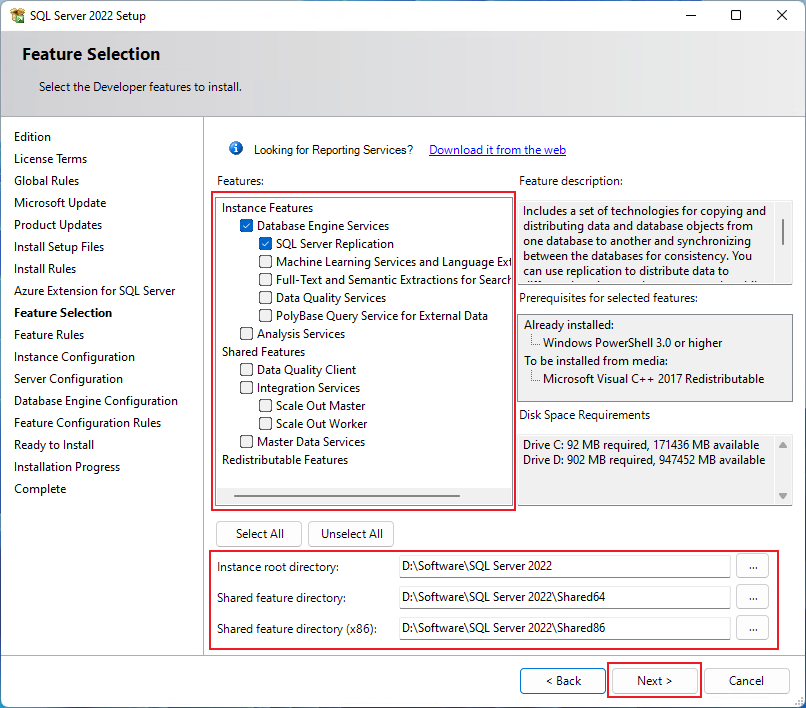
Function selection, it is recommended to select these two basic functions, change the instance root directory, click Next
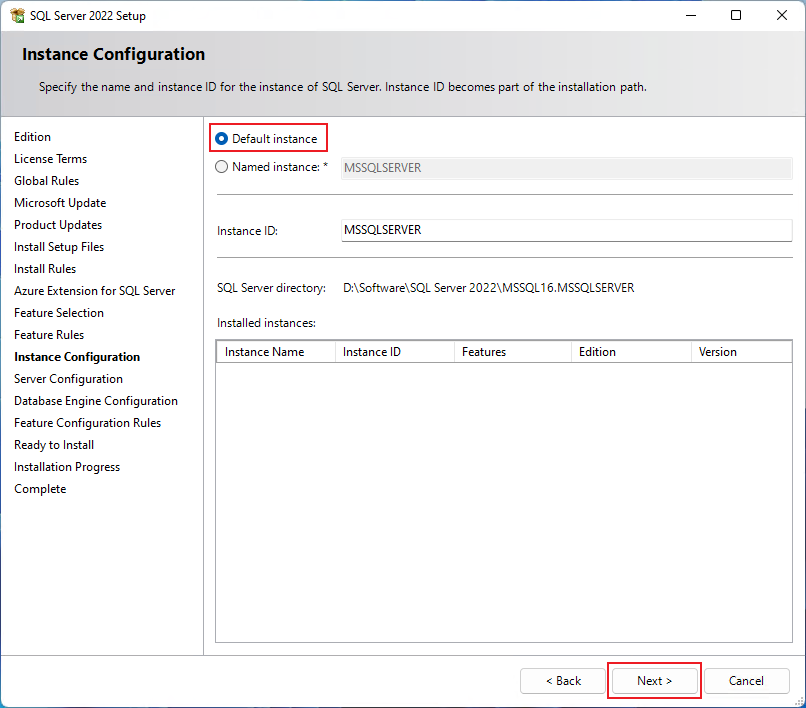
Instance configuration, here usually choose the default instance, click Next
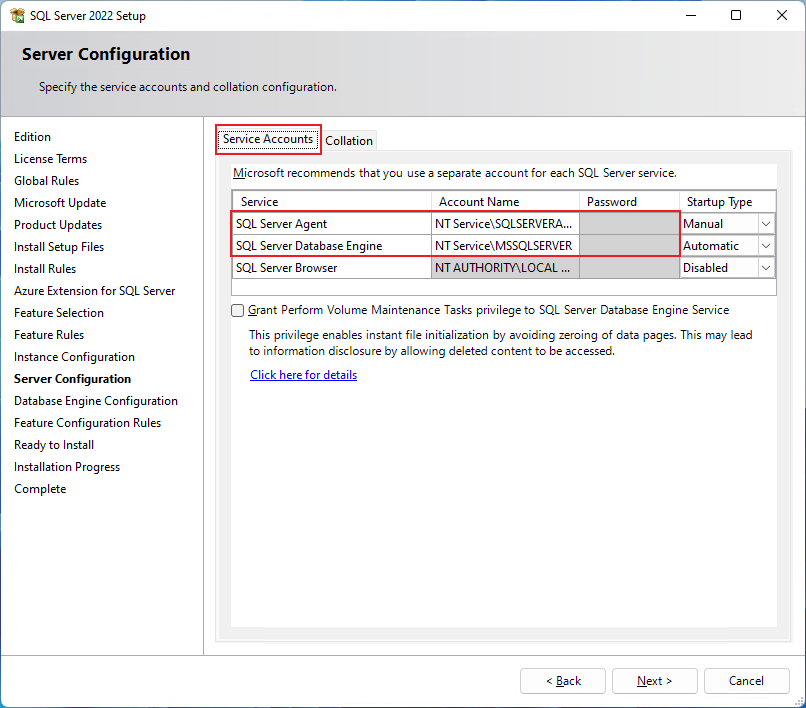
Service account configuration, here you can choose the SQL Server agent and engine account, usually keep the default and can be changed after the installation
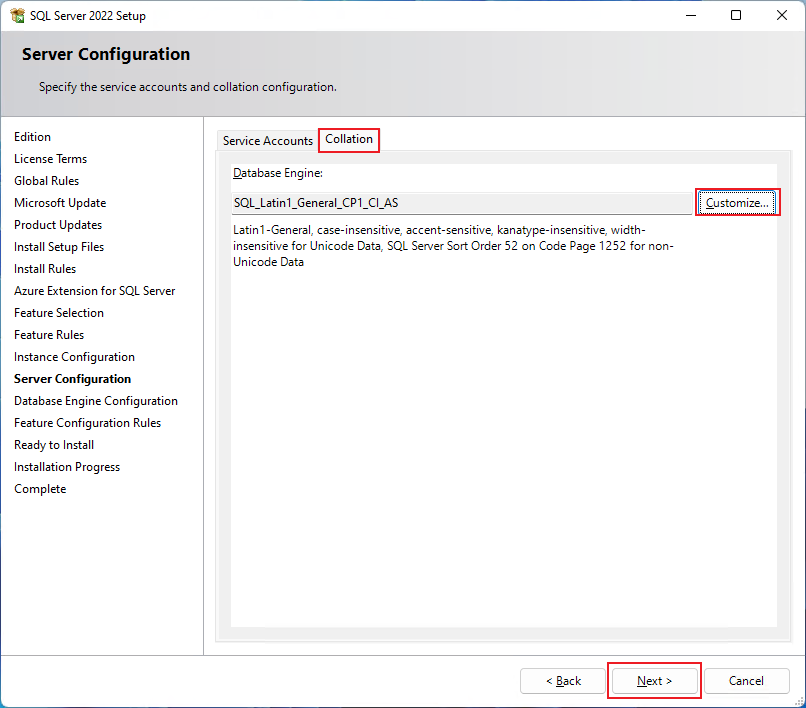
Sorting rules settings, generally keep the default, if you need to modify click Custom, select the specified sorting rules (Note: database migration and high availability to maintain the same sorting rules, sorting rules are not easy to modify after installation), click Next!
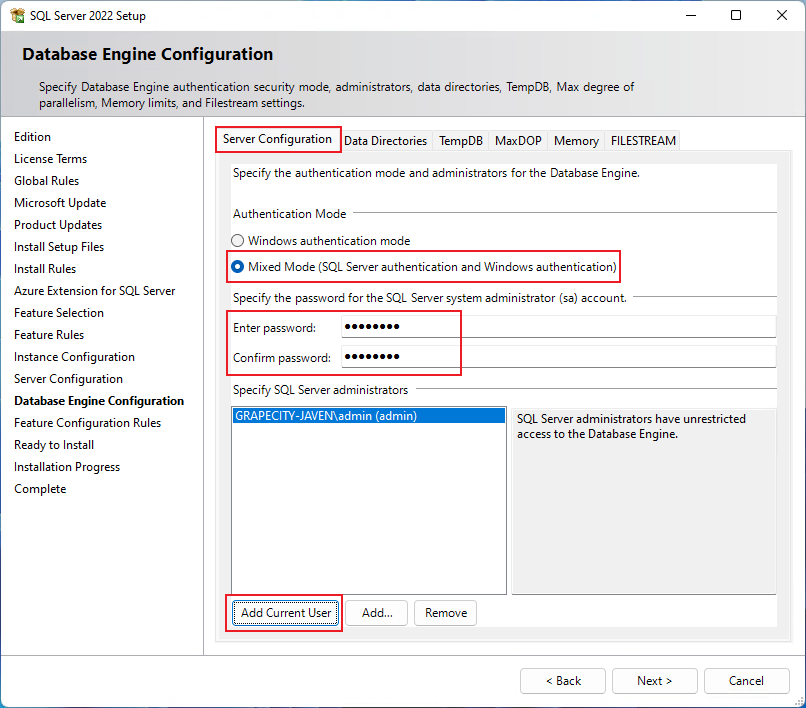
Server Configuration. Select mixed mode, set sa password (sa is the super administrator of sql server), click add current user
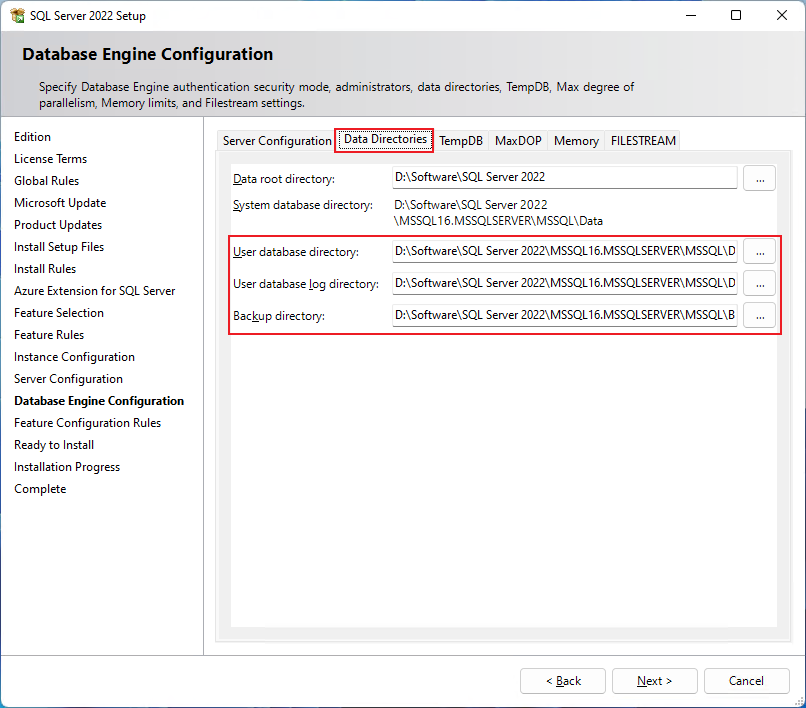
Data directory, here you can change the default location of the user database files, you can keep the default, it is recommended to create a separate directory for distribution
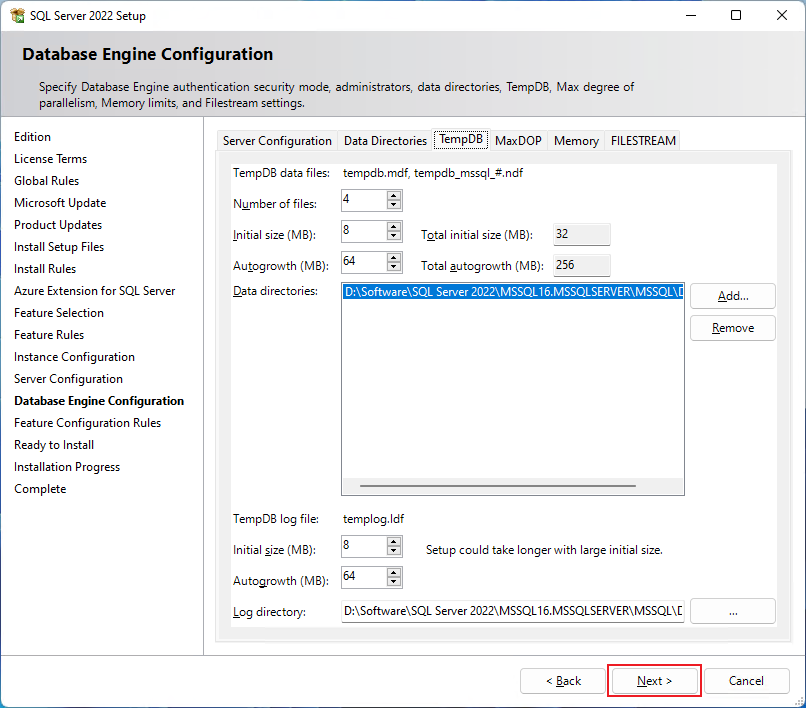
TempDB (system temporary database, restart the database automatically updated), you can set the initial number of TempDB data files (recommended 4-8, do not exceed 8) and TempDB data file directory, it is recommended to allocate a separate disk and directory, you can keep the default, click Next!
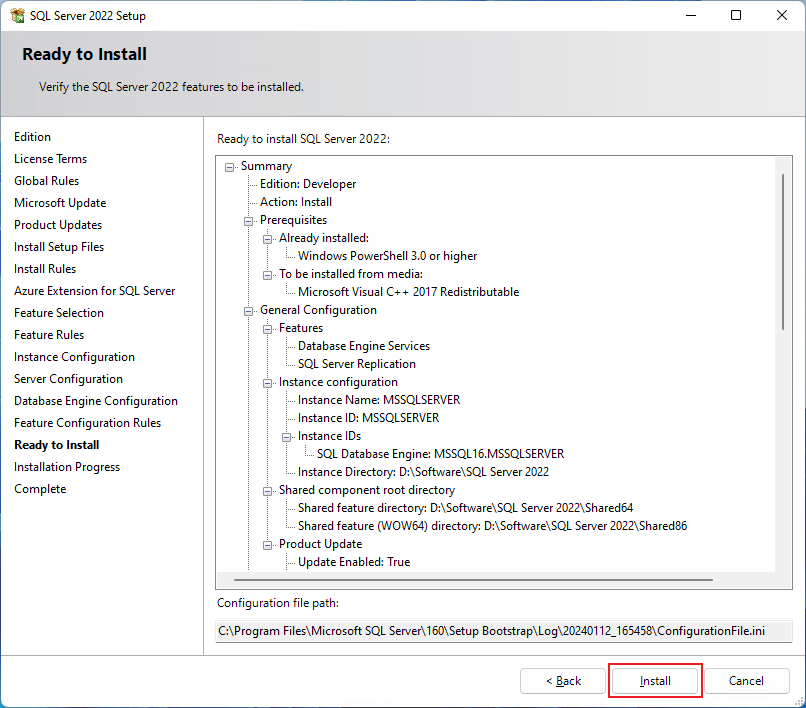
Click to install
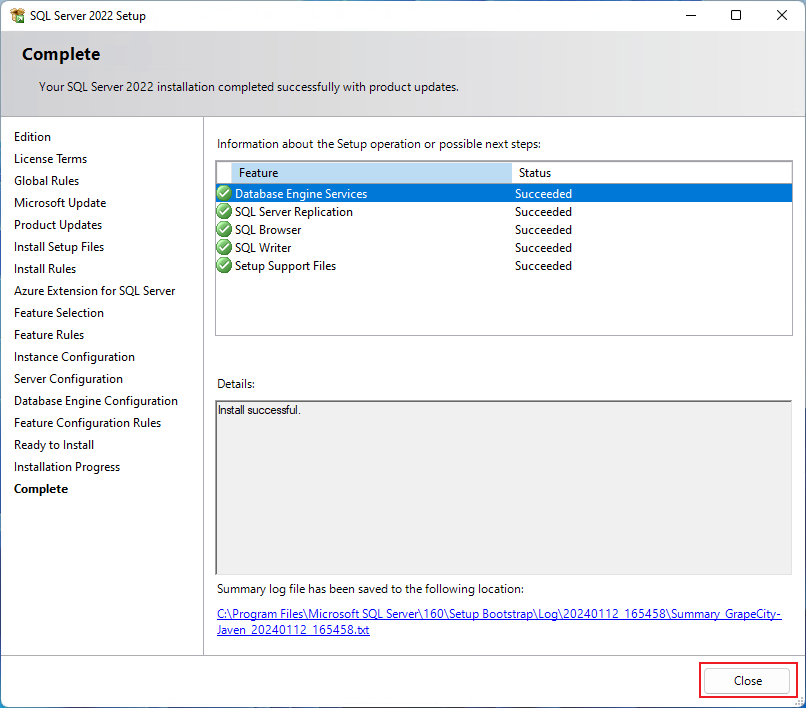
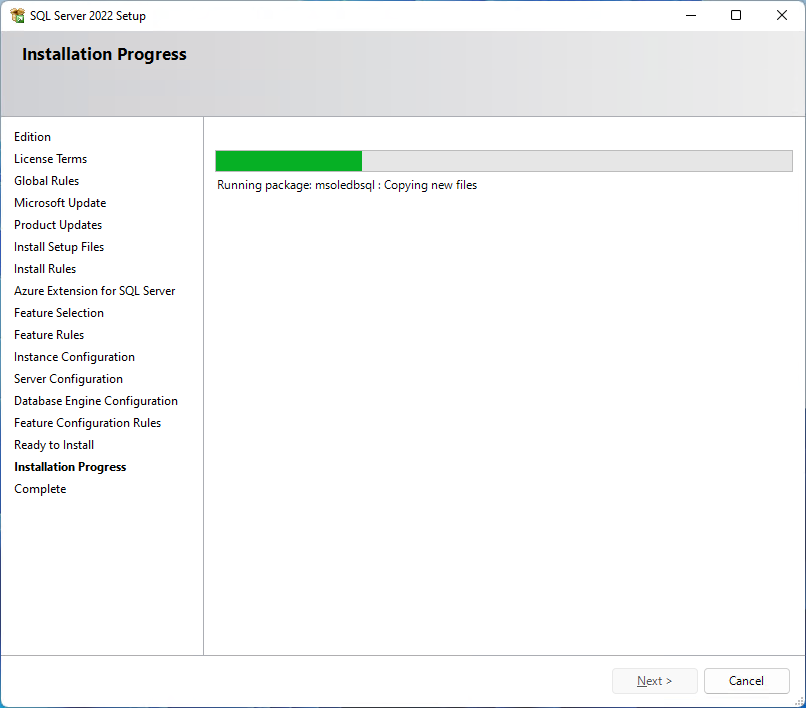
Waiting for installation to complete
Click to close and the installation is complete