  1
  2
  3
  4
  5
  6
  7
  8
  9
 10
 11
 12
 13
 14
 15
 16
 17
 18
 19
 20
 21
 22
 23
 24
 25
 26
 27
 28
 29
 30
 31
 32
 33
 34
 35
 36
 37
 38
 39
 40
 41
 42
 43
 44
 45
 46
 47
 48
 49
 50
 51
 52
 53
 54
 55
 56
 57
 58
 59
 60
 61
 62
 63
 64
 65
 66
 67
 68
 69
 70
 71
 72
 73
 74
 75
 76
 77
 78
 79
 80
 81
 82
 83
 84
 85
 86
 87
 88
 89
 90
 91
 92
 93
 94
 95
 96
 97
 98
 99
100
101
102
103
104
105
106
107
108
|
#include <opencv2/opencv.hpp>
#include <limits>
using namespace std;
using namespace cv;
//原始的LBP算法
//使用模板参数
/**
*将原图去除最外围的一圈,里面的每个都作为中心点,来计算这个中心点相应矩形区域
*的lbp特征值。
*算出来的这个lbp特征值,就是目标mat的值,
*目标mat的大小是原始mat的(rows-2,cols-2)
*/
template <typename _Tp>
void OLBP_(const Mat& src, Mat& dst) {
dst = Mat::zeros(src.rows - 2, src.cols - 2, CV_8UC1);
for (int i = 1; i<src.rows - 1; i++) {
for (int j = 1; j<src.cols - 1; j++) {
_Tp center = src.at<_Tp>(i, j);
unsigned char code = 0;
code |= (src.at<_Tp>(i - 1, j - 1) > center) << 7;
code |= (src.at<_Tp>(i - 1, j) > center) << 6;
code |= (src.at<_Tp>(i - 1, j + 1) > center) << 5;
code |= (src.at<_Tp>(i, j + 1) > center) << 4;
code |= (src.at<_Tp>(i + 1, j + 1) > center) << 3;
code |= (src.at<_Tp>(i + 1, j) > center) << 2;
code |= (src.at<_Tp>(i + 1, j - 1) > center) << 1;
code |= (src.at<_Tp>(i, j - 1) > center) << 0;
dst.at<unsigned char>(i - 1, j - 1) = code;
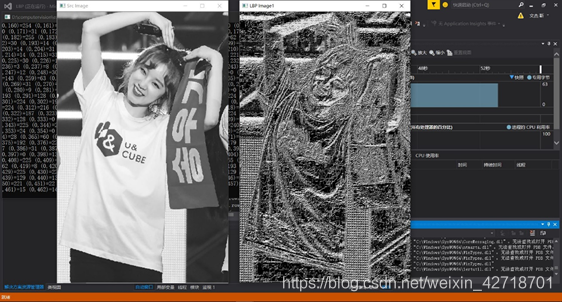
if (i == 1)
cout << "(" << i - 1 << "," << j - 1 << ")=" << (unsigned)code << " ";
}
if (i == 1)
cout << endl;
}
}
template <typename _Tp>
void ELBP_(const Mat& src, Mat& dst, int radius, int neighbors) {
neighbors = max(min(neighbors, 31), 1); // set bounds...
// Note: alternatively you can switch to the new OpenCV Mat_
// type system to define an unsigned int matrix... I am probably
// mistaken here, but I didn't see an unsigned int representation
// in OpenCV's classic typesystem...
dst = Mat::zeros(src.rows - 2 * radius, src.cols - 2 * radius, CV_32SC1);
for (int n = 0; n<neighbors; n++) {
// sample points
float x = static_cast<float>(radius) * cos(2.0*M_PI*n / static_cast<float>(neighbors));
float y = static_cast<float>(radius) * -sin(2.0*M_PI*n / static_cast<float>(neighbors));
// relative indices
int fx = static_cast<int>(floor(x));
int fy = static_cast<int>(floor(y));
int cx = static_cast<int>(ceil(x));
int cy = static_cast<int>(ceil(y));
// fractional part
float ty = y - fy;
float tx = x - fx;
// set interpolation weights
float w1 = (1 - tx) * (1 - ty);
float w2 = tx * (1 - ty);
float w3 = (1 - tx) * ty;
float w4 = tx * ty;
// iterate through your data
for (int i = radius; i < src.rows - radius; i++) {
for (int j = radius; j < src.cols - radius; j++) {
float t = w1*src.at<_Tp>(i + fy, j + fx) + w2*src.at<_Tp>(i + fy, j + cx) + w3*src.at<_Tp>(i + cy, j + fx) + w4*src.at<_Tp>(i + cy, j + cx);
// we are dealing with floating point precision, so add some little tolerance
dst.at<unsigned int>(i - radius, j - radius) += ((t > src.at<_Tp>(i, j)) && (abs(t - src.at<_Tp>(i, j)) > std::numeric_limits<float>::epsilon())) << n;
}
}
}
}
int main(int argc, char* argv[]) {
Mat color_face = imread("2007_000807.jpg", CV_LOAD_IMAGE_ANYDEPTH | CV_LOAD_IMAGE_ANYCOLOR);
if (color_face.empty()) {
cout << "read picture fail!\n";
return -1;
}
Mat olbp_face = Mat::zeros(color_face.size(), color_face.type());
//change to grey color picture
cvtColor(color_face, olbp_face, CV_BGR2GRAY);
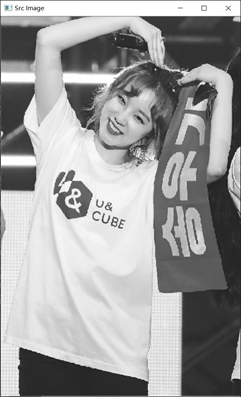
//显示原始的输入图像
cvNamedWindow("Src Image", CV_WINDOW_AUTOSIZE);
imshow("Src Image", olbp_face);
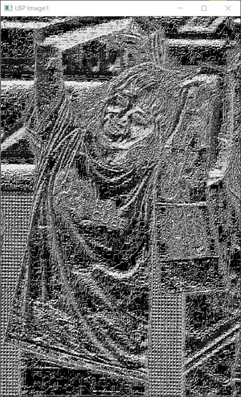
//计算输入图像的LBP纹理特征
Mat lbp_face;//= Mat::zeros(color_face.size(),color_face.type()) ;
OLBP_<uchar>(olbp_face, lbp_face);
//显示LBP纹理特征图
namedWindow("LBP Image1", 1);
imshow("LBP Image1", lbp_face);
//use elbp
// Mat elbp_face;
// ELBP_<uchar>(olbp_face,elbp_face,2,4);
waitKey();
return 0;
}
|